Each and every of our inspection tools (in the workshop or at the inspection dept) have their own ID number, a life sheet, a date of next inspection. Inspection of controlling tools is performed on a regular basis, following a planning.
We inspect your parts following our in-house procedure, or following yours.
On top of the traditiponal inspection equipment (measuring column, profile projectors, HRC meter...), the geometry of your gears is inspected by means of 2 CNC MMT (
Mitutoyo 9166 - picture on the left, Espace 500), and by our Zeiss-Höfler bench for teeth geometry (picture on the right).
We can document dimensional conformance following every aspect of the norm (ISO, DIN, AGMA) thanks to our measuring bench featuring the Klingelberg software with intégrated norms).

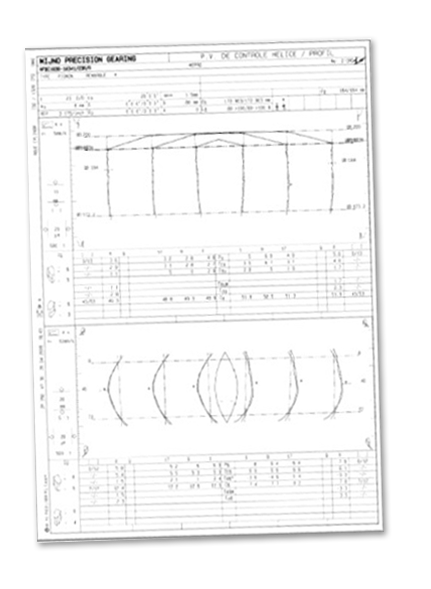
The control reports we provide are consequently free of human interpretation and give all details about tooth geometry.
These control reports show:
-
All parametres of the helix error on both flanks of 3 teeth
-
All parametres of the profile error on both flanks of 3 teeth
-
Individual pitch error on 2 flanks of all teeth
-
Cumulative pitch error on 2 flanks of all teeth
Other inspection equipment
-
5 gear roll test benches
-
5 measuring columns
-
2 digital profile projectors
-
1 rougness test device
-
1 fixed ad 1 mobile hardness check devices
-
1 binocular magnifier,
-
1 endoscope
-
...

